I play Natural Selection 2 competitively, (clan: T.A.W ns2) but recently our Team leader had to quit, and that leaves me as the new Team leader.
If you want to see what NS2 looks like, I actually stream a lot of our sessions from my first person view on Twitch:
http://www.twitch.tv/skyfishart/c/6806618.
A typical match sees one person "commanding" the team from an overview point, who can think about the game strategy and place tactical structures.
The rest of the team play on the field in First Person Shooter mode as aliens or marine side. Despite being team lead, I play on the field, as these roles are not connected. I don't have as good a grasp of tactics as someone who is trained in commanding in game.
What I do have to do though, is train, organize, monitor, and keep motivated a small team. I don't feel like I have the time for it much, but I manage. So far I found it surprisingly inspiring, When our clan (group) leader (of 60 people) told me that he moved into leadership because he enjoyed it, I didn't understand why he would enjoy more work, but now I think I start to see it. The camaraderie is much stronger when you have to be the glue of the group and the one to deal with all the problems.
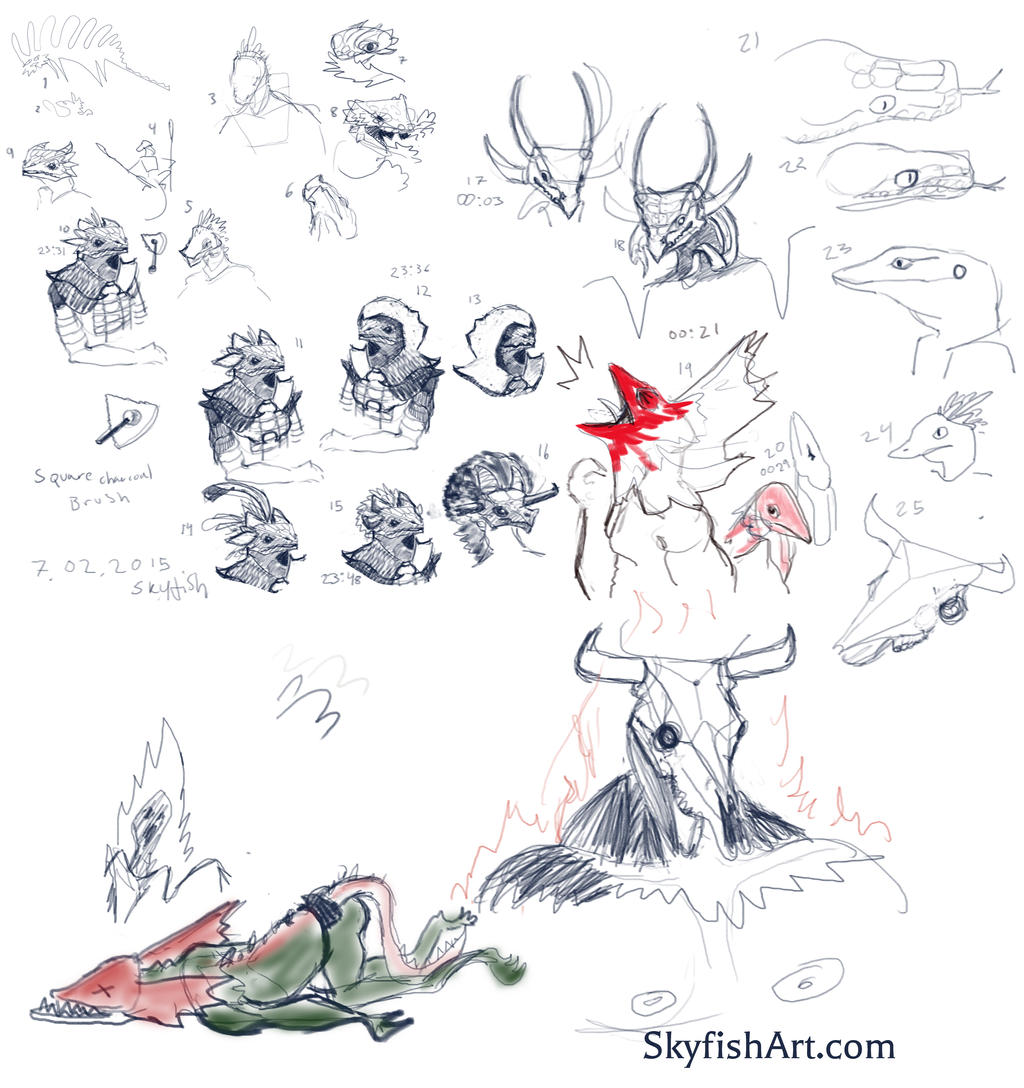
Below: Doodles of "Lerk" the alien lifeform I play as.
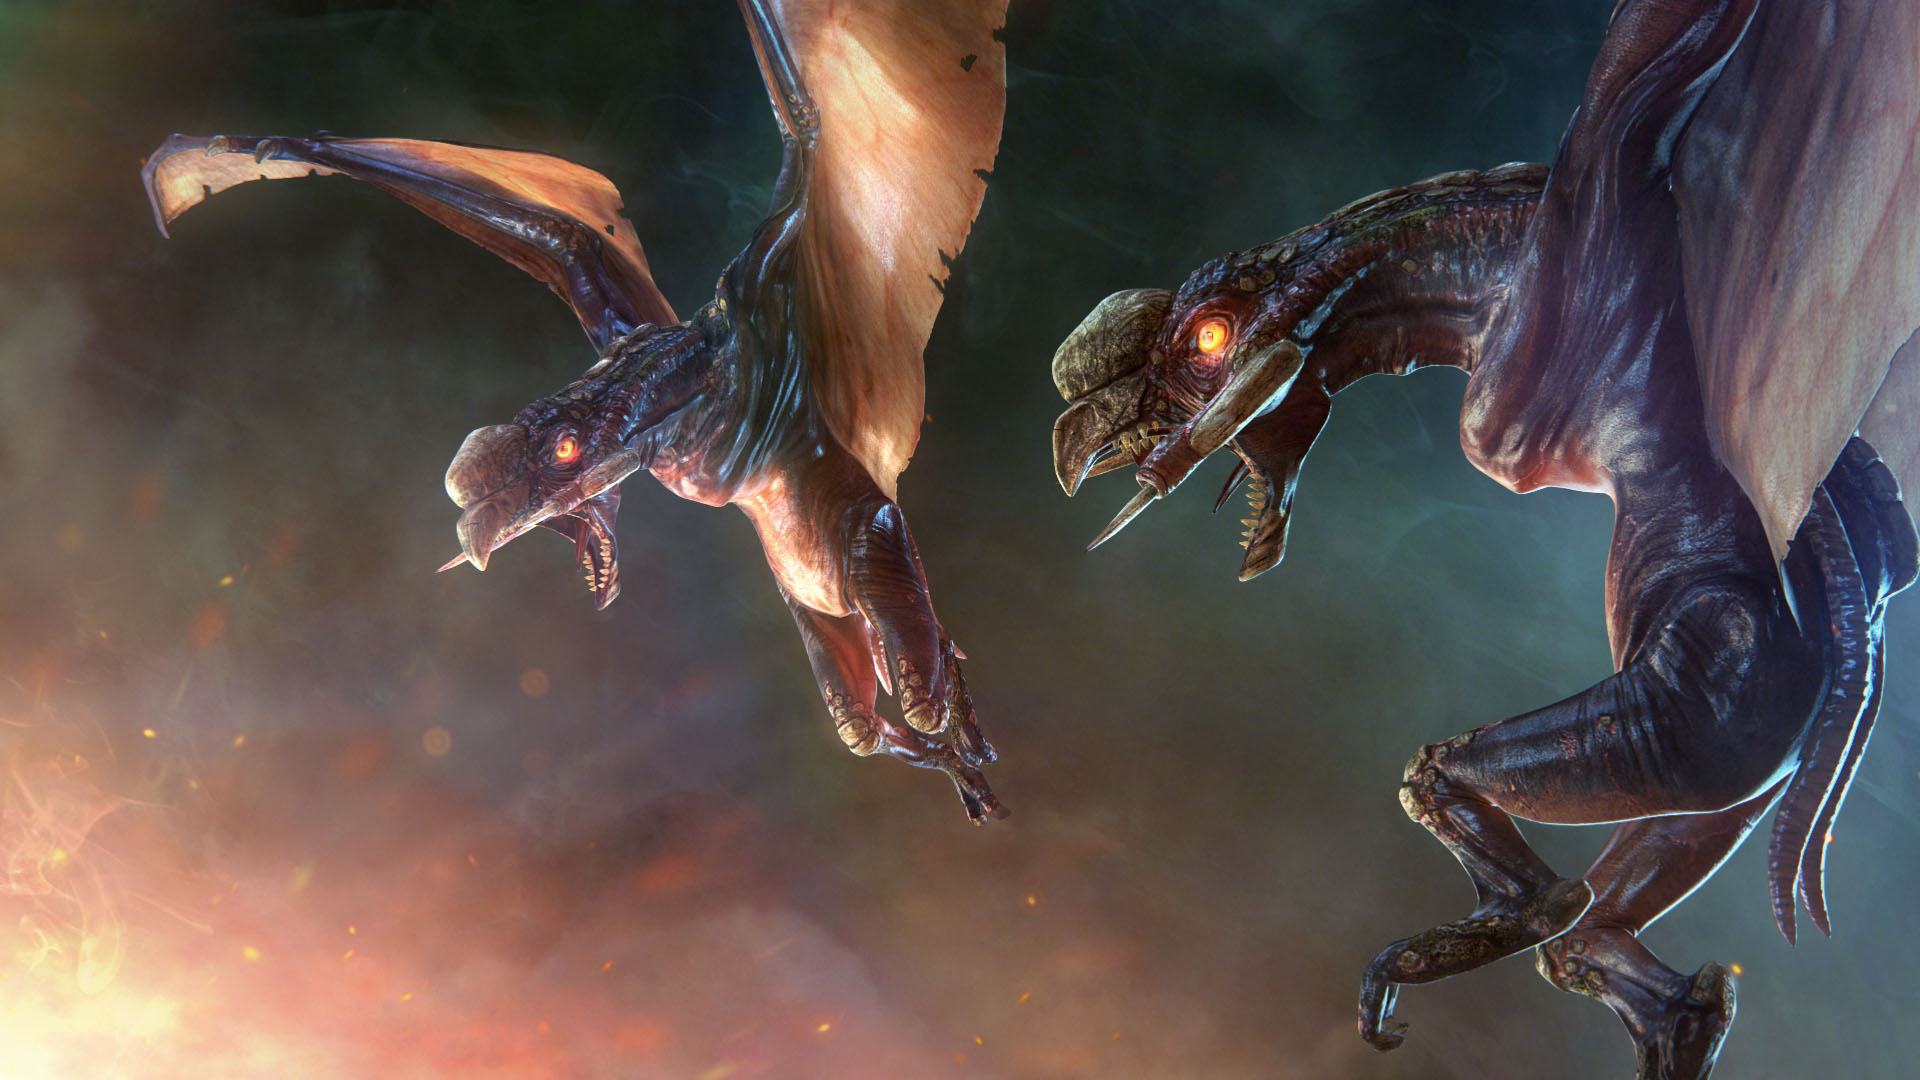
Official Lerk picture from Unkown Worlds:
Friday, June 12, 2015
Wednesday, May 6, 2015
3D print: deal with it glasses
"You wouldn't download a meme"
Thingiverse.com is a directory where one can download and upload 3D models for free. (The authors choose the licences. ) The system is geared towards collaboration and iterating on other's designs. It is probably a great asset to humanity in the long run.
So of course I use it for downloading and printing internet memes.
This is my first "make" as recreations are called on thingiverse. Modeled by everysecond initially (this is called a "design")
Now all I need is (actually good) 3D modelling in VR and I will be living in the future.
Thingiverse.com is a directory where one can download and upload 3D models for free. (The authors choose the licences. ) The system is geared towards collaboration and iterating on other's designs. It is probably a great asset to humanity in the long run.
So of course I use it for downloading and printing internet memes.
Original (unknown author)
This is my first "make" as recreations are called on thingiverse. Modeled by everysecond initially (this is called a "design")
Now all I need is (actually good) 3D modelling in VR and I will be living in the future.
Tuesday, April 28, 2015
3D modelling: stamp part 3
I feel I have come a long way since "part 0", it is funny to look back at it.
Progress:
Tested the 3D printer's resolution at a small scale. The ultimaker is much too rough at 2 cm.
All the pieces together, the dish fits the mold perfectly.
As a bonus, I attempted to use the 3D pen (a bit like a glue gun) It is true that they are difficult to use. Very unintuitive, like modelling with unpredictable gravity adhering spaghetti. Doing useful things with it probably will require a fair bit of practice, for now I will use it to weld 3D prints.
Good day!
Labels:
2015,
3d printing,
bitraf,
journal,
personal update,
stamp,
unfinished
Monday, April 13, 2015
Suddenly Gamejam Season
Last weekend was Sonen game jam. Next week (17th april 2015) is Ludum Dare, I haven't organized anything, but I'm still considering it last minute.
For sonen, this time I participated much more casually with an intent to get an excuse to learn using Krita with only my laptop (built in drawing technology) I have been avoiding it because of a whole host of problems, inconveniences and simply being out of my comfort zone. Dragging out the trusty and superior wacom tablet was always too tempting, so for the gamejam I elected not to bring it. Of course, this resulted in no game entry this time. Though I did make a few sketches on the last day where I caved and brought the wacom tablet.... (sigh, but I don't regret it!)
All in all it was successful:
For sonen, this time I participated much more casually with an intent to get an excuse to learn using Krita with only my laptop (built in drawing technology) I have been avoiding it because of a whole host of problems, inconveniences and simply being out of my comfort zone. Dragging out the trusty and superior wacom tablet was always too tempting, so for the gamejam I elected not to bring it. Of course, this resulted in no game entry this time. Though I did make a few sketches on the last day where I caved and brought the wacom tablet.... (sigh, but I don't regret it!)
All in all it was successful:
- Krita doesn't seem to crash anymore (why? I don't know.)
- Ntrig now has pressure sensitivity in krita (driver update+krita update+nvidia update)
- Contributed bug reports to krita community
- Met some cool old and new people
- Rediscovered my favourite photoshop brush
- Laptop can be used for drawing in a pinch or with external keyboard
The problem with the vaio flip is that both krita and photoshop are cumbersome without hotkeys, and the vaio hides the keyboard under the screen in tablet mode. Perhaps with a third, simpler drawing app I could enjoy lap-drawing better, might try microsoft paint again, it does have the undo button in plain sight unlike the others.
1-4 reverse process on a "pokefusion" sandslash and machop
5 pokefusion beedrill and ghastly drawn with only my favourite photoshop brush (chalk with low flow)
6 abstract brush practice
The above image is the result of my doodling. I use a little photoshop plugin called "layersToSprite" to automatically output layers into one image, but lately I can't control how many rows it adds due to a weird problem I can only fix with a fresh windows install. (do not want) I also realize they are in the reverse order so that is something to keep in mind next time.
Monday, March 23, 2015
Logo Design process
Personal Logo: Skyfish Art
For my personal logo I already knew approximately what I wanted, the symbolism behind it has formed over years of background noise that I won't go into here. The earliest iteration is from primary school, a C and an L interlocked (my initials). I kept that C and L in my design and introduced the Skyfish that I am now known for. Initially I was using the pure sketch for a logo, I wanted to embrace the rough. Peer pressure convinced me to vectorize it however, this was before I felt comfortable with the modern-sleek-flat-gloss seemingly curated by apple. The logo reads much better now, I have to admit, as it is very detailed for a logo, but I'm happy with this for now. I intended it to be primarily a watermark, so some complexity is desirable for me.
![]() |
| Final iterations on skyfish logo. |
![]() |
| Finished vectorized skyfish logo. |
Logo Design for LRC
I was approached by the client to create a logo for general use, and given colour scheme, previous marketing material and a mascot to work from.
![]() |
| Completed Logo Design. |
Below is some of the process behind this Logo, hundreds of thumbnails. The design was settled primarily by the clients decisions and a tight dialogue.
I primarily worked to come up with a design that echoed the former mascot and the name by incorporating the image of a rat in the logo, abstracting as I went along. Meanwhile I also tried to incorporate shapes that would communicate the complex technical field that LRC conducts its business in. The client selected thumbnail nr 11 for further development and eventually became the end result.
Labels:
2012,
2014,
case study,
logo,
logo design,
personal update,
rat,
skyfish,
thumbnails,
vector
Friday, March 13, 2015
3D modelling: stamp part 2
(part 0) (part 1)
Yesterday I said I had made some progress on learning how to use blender, and today I made my first (purposeful) model! It is probably not as optimal as it could be, I had to hack it together with my limited knowledge. Seeing as it's for 3D print, polycount and such is not really a concern for me (that I know of).
What you see here is my logo stamp (v1.0) the green is the handle, the red is a dish to hold the sugru (stamp surface) and the brown is essentially a cast for the sugru to go in. I suspect the design is too minute to really get all the details, nor do I know how minute details the Ultimaker 3D printers can really do, but I shall see. Worst case scenario, I will print it larger. It's designed to be about 2-3 cm in diameter across the dish. I am also considering what other material could replace the sugru, it is definitely the most costly part of this plan (I'm planning to make many), and I'm sure there are other moldable materials that might hold/print ink/liquids better than sugru around. I'm not up to date on clays and such, so suggestions are very welcome.
As I modelled it, I was realizing it might be hard to remove the cast from the sugru and to get the sugru to stick to the correct surface and not just get pulled back out. I will have to test this. I added 2 flaps to the cast to make it easier to grab. I hope they are not too thin and will break. I will test it and see if I shall make them bigger for v.2.
I wanted the red dish to screw onto the handle, but screws were a bit too advanced for me to get my head around right now, so I will just glue it on and hope for the best. Alternatively I might make the dish square and have it slide onto the handle, but that doesn't look as cool in my opinion.
The logo was imported from Illustrator, I did have some trouble with that due to how I initially created it: with an automatic conversion from a raster image to vector, (I then manually went and deleted hundreds of vector anchor points and adjusted them to fit, I found this process easier than creating a path with the standard pen tools and tracing it myself. The reason for this is I get stuck in "making perfect curves" who end up ruining the design. By converting it I get the design straight away, but a messy path. it works for 2D.) Of course that made it convert poorly in blender, paths were crossed, facing odd directions, who knows. After making the path function (I got some help), the extrusion went mostly fine, I had to patch up a missing face and make sure the model was watertight. (In blender this is called Manifold, I have yet to learn how to use this word in a sentence. "The model is Manifold?" sounds as alien as 3D modeling is to reality haha.)
When I have tested it and settled on decent version, I will upload the stamp design to thingiverse (or something like it) under creative commons licence, yay for sharing! (there are already some good stamp designs on thingiverse, but I wanted my own handle, round and grippy) I will make a new post when I have a working version, so stay tuned.
Yesterday I said I had made some progress on learning how to use blender, and today I made my first (purposeful) model! It is probably not as optimal as it could be, I had to hack it together with my limited knowledge. Seeing as it's for 3D print, polycount and such is not really a concern for me (that I know of).
As I modelled it, I was realizing it might be hard to remove the cast from the sugru and to get the sugru to stick to the correct surface and not just get pulled back out. I will have to test this. I added 2 flaps to the cast to make it easier to grab. I hope they are not too thin and will break. I will test it and see if I shall make them bigger for v.2.
I wanted the red dish to screw onto the handle, but screws were a bit too advanced for me to get my head around right now, so I will just glue it on and hope for the best. Alternatively I might make the dish square and have it slide onto the handle, but that doesn't look as cool in my opinion.
![]() |
| Messy blender mesh from messy illustrator path. |
![]() |
| Blender screenshot: logo impressed into cylinder with boolean operation. |
Labels:
2015,
3d printing,
model,
modelling,
personal update,
stamp,
sugru,
wip
Thursday, March 12, 2015
Learning a new skill: 3D modelling
(part 0) (part 2 here)
A little while back I mentioned on tumblr I was starting to learn 3D modelling. After much time-consuming and perhaps -pointless- deliberation, I settled for learning Blender. Despite it's bad reputation, the updates to the program in the past year has made it much more appealing. It's features are many and versatile, and most importantly: open source with a great community and learning material. I put it down shortly after I began, but now I am back on it again, and thankfully have gotten past the *head to desk* stage of initial frustration. I'm learning with the book called "blender for dummies" this time around while supplementing more and more with youtube, manuals and general googling the further I get. I underestimated the book due to it's name, I never expected the "For dummies" series to be more than "sell-bait" however, using it has been a un-frustrating and productive experience. I'm on chapter 4 so far, and am starting to get very close to my goal of making my first 3D print.
sugru (for the stamp surface) It's 3D printer weekend at the Oslo makerspace Bitraf this weekend, so I'm hoping I will have it all figured out by then.
A little while back I mentioned on tumblr I was starting to learn 3D modelling. After much time-consuming and perhaps -pointless- deliberation, I settled for learning Blender. Despite it's bad reputation, the updates to the program in the past year has made it much more appealing. It's features are many and versatile, and most importantly: open source with a great community and learning material. I put it down shortly after I began, but now I am back on it again, and thankfully have gotten past the *head to desk* stage of initial frustration. I'm learning with the book called "blender for dummies" this time around while supplementing more and more with youtube, manuals and general googling the further I get. I underestimated the book due to it's name, I never expected the "For dummies" series to be more than "sell-bait" however, using it has been a un-frustrating and productive experience. I'm on chapter 4 so far, and am starting to get very close to my goal of making my first 3D print.
![]() |
| Blender screenshot: My first 3D model, how sentimental (Babys first extrude) |
sugru (for the stamp surface) It's 3D printer weekend at the Oslo makerspace Bitraf this weekend, so I'm hoping I will have it all figured out by then.
Labels:
2015,
3d printing,
blender,
journal,
model,
modelling,
personal update,
skyfish,
stamp,
unfinished
Saturday, February 28, 2015
DnD character design scribbles
For this reason I have to figure out what my lizard person actually looks like. I am going to be a pirate ninja lizard, so I'm tempted to base it off a black iridescent snake, but I like the hooded one too.
The red faced one is based on a frilled neck lizard, because the character is borderline feral and specializes in punching things. I Thought the aggressive neck display and colouring would go with the angry punchy charcter, apparently it doesn't speak. It's name is JAWS so I should probably emphasise that more. half shark maybe.
This sheet also depicts events in our trial dungeon, we fought a skullfaced ox dude, and Jaws was paralyzed for the whole match while being poked at by zombies. My supposedly professional ninja also failed to attack anything due to
Thursday, February 26, 2015
DIY addiction suddely
I only recently discovered Pinterest and was immediately lost in it's DIY tags.
Pinterest also conveniently solves my problem that Tumblr didn't: I wanted inspiration and reference galleries with viral potential and ease of use. Tumblr's broken tagging and more or less dysfunctional search does not support finding a thing you once saw ever again. Pinterest however, finds you things.
So here I am, hoarding pins, but I didn't want to be all talk no do. Therefore I elaborated on a simple pin I saw, a fabric cactus pincushion.
Pinterest also conveniently solves my problem that Tumblr didn't: I wanted inspiration and reference galleries with viral potential and ease of use. Tumblr's broken tagging and more or less dysfunctional search does not support finding a thing you once saw ever again. Pinterest however, finds you things.
So here I am, hoarding pins, but I didn't want to be all talk no do. Therefore I elaborated on a simple pin I saw, a fabric cactus pincushion.
Labels:
2015,
cactus,
DIY,
fabric scraps,
junk art,
personal update,
pincushion,
pinterest,
recycle
Wednesday, October 8, 2014
Life drawing at blankspace oslo
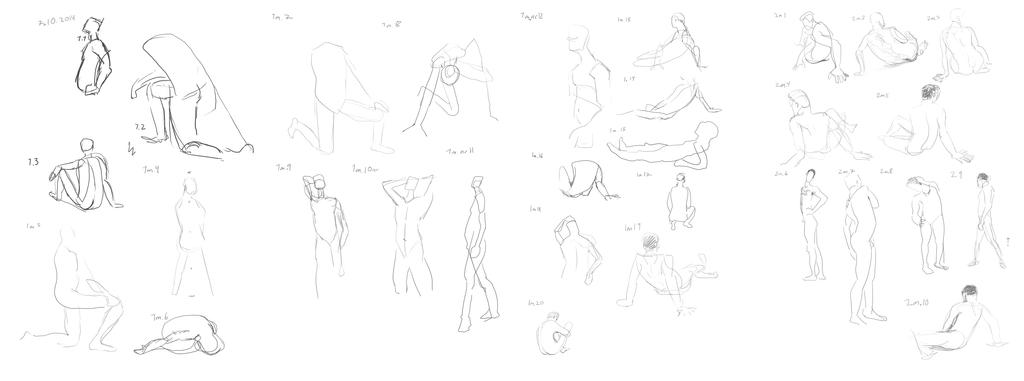
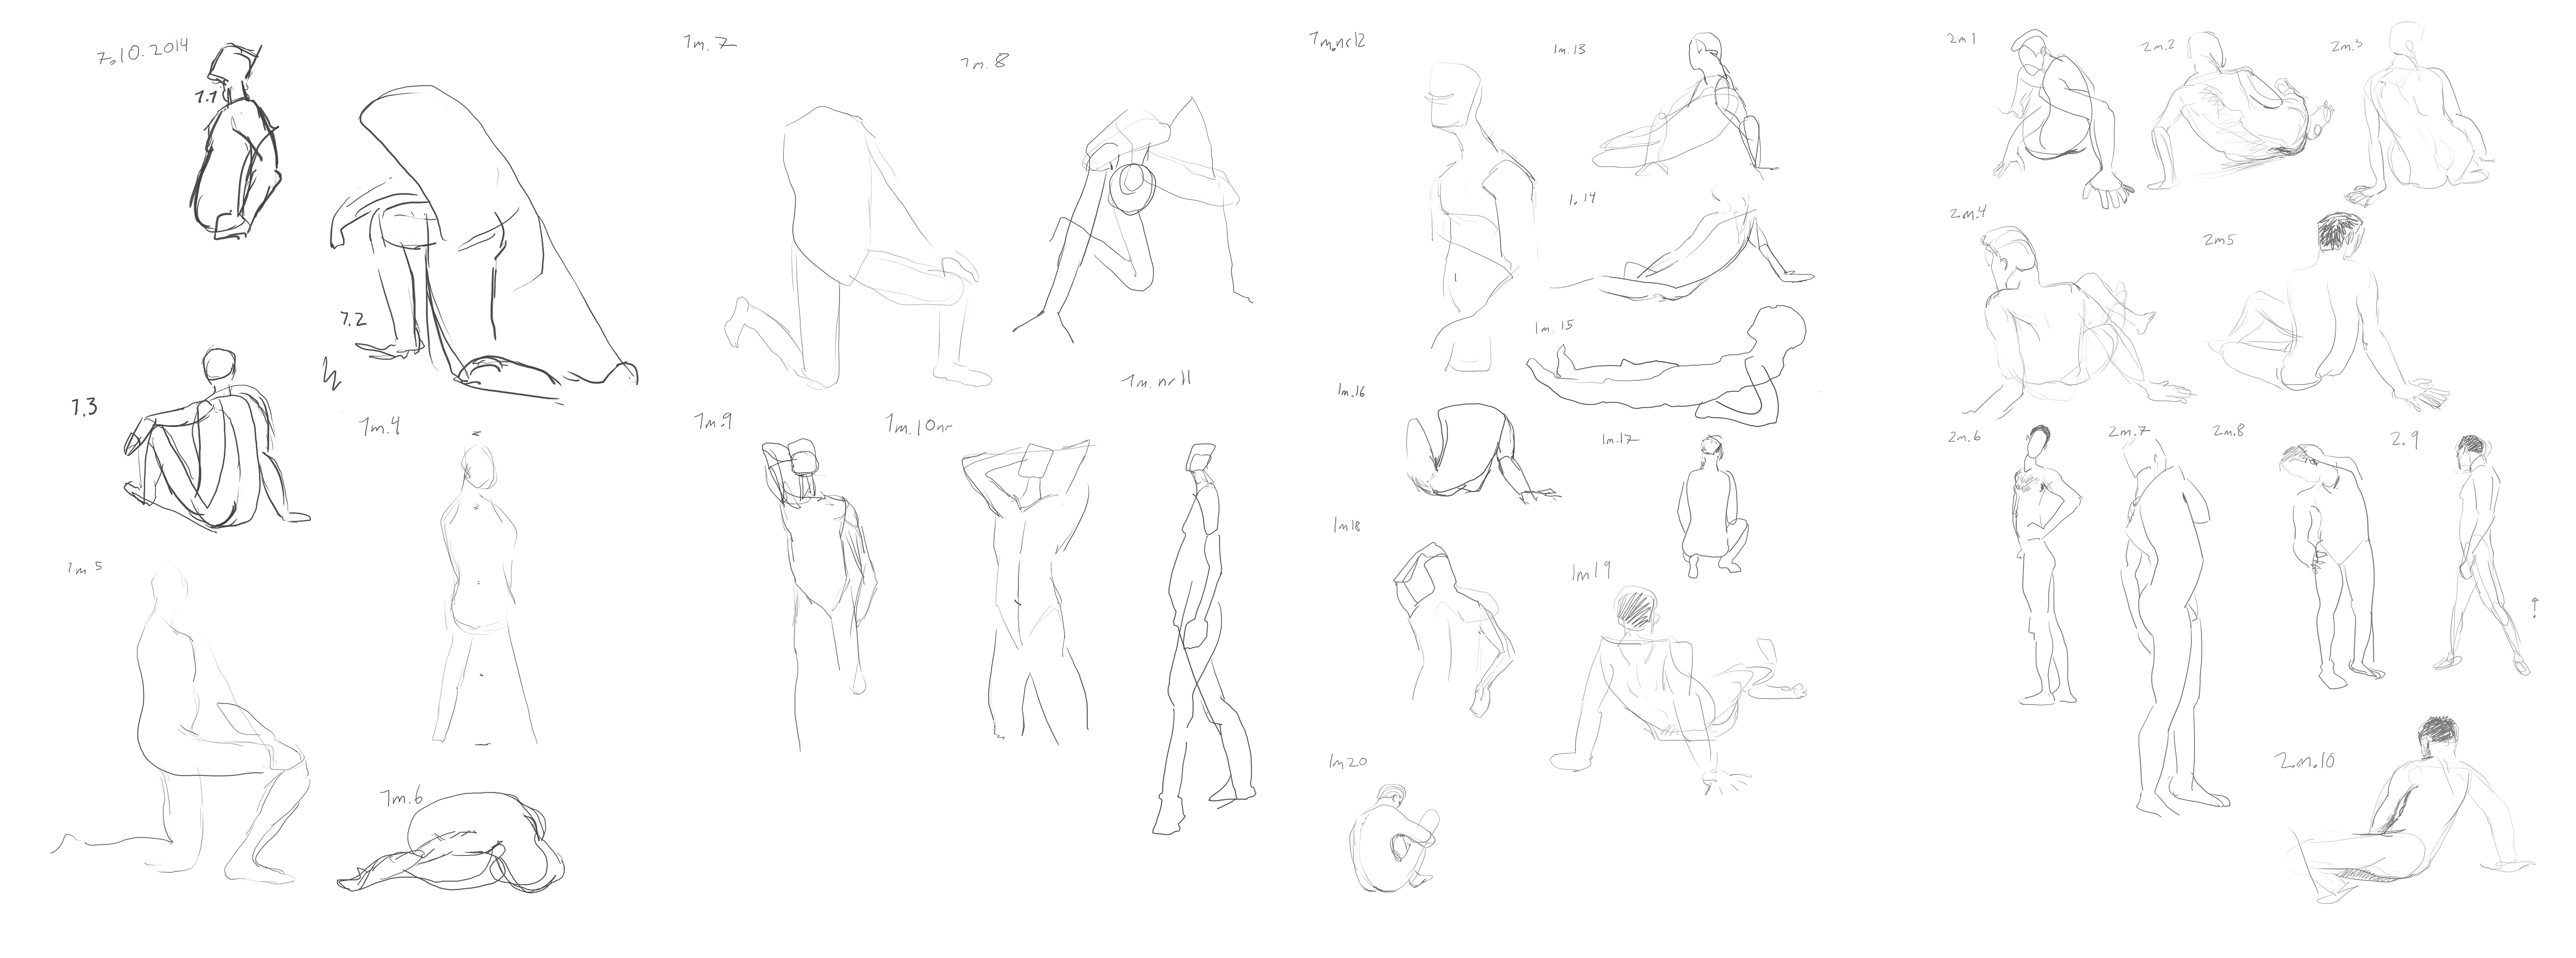
Link to High resolution image
This is the result from yesterdays trip to blankspace oslo, a gallery that offers life drawing sessions. Drawing the human form is one of the most efficient way to improve drawing skill. For the first time I used my laptop and wacom intuos 3 for life drawing. that means both a pc and a tablet on the lap ( I used a second chair to hold the pc) It was surprisingly difficult. I never realized just how much disccrepancy there is between my eye movement and the hand drawing. Normally I can correct for the tablet movement by seeing the line on screen, but when watching the model, my lines are off by many degrees, resulting in thick and thin limbs and a lot of frustration on my part. Frustration was highest around 12-15 and nearing 20+ I started to get the hang of it and resumed working on figuring out what method of looking that actually results in me having reasonable proportions in the drawing. Actually measuring doesn't seem to work out well for me yet (at least not in 1 minute drawings), but getting one contour with (semi) blind drawing and then just going with it has the nicest looking results, even if they are inaccurate.
Labels:
2014,
digital,
digital kunst,
drawing,
human,
life drawing,
male,
model,
nude,
personal update
Subscribe to:
Posts (Atom)